We use cookies to make your experience better. To comply with the new e-Privacy directive, we need to ask for your consent to set the cookies. Learn more
Acetech AC6000 Airgun Chronograph
The Acetech AC6000 Chronograph is one of the simplest and best value for money methods of measuring your air rifle's power currently on the market. Instead of spending hundreds on a full-bore chronograph, which also has the disadvantage of being large and awkward to use, the Acetech chronograph is simple to mount, and quick to set up and use.
Testing the Acetech AC series chronographs
On test, the Acetech AC6000 Chronograph performed excellently.
I tested the Acetech AC6000 Chronograph with a couple of different air rifles and air pistols, in both .177 and .22, against a couple of larger (significantly more expensive) chronographs I have available, and the results were accurate to 0.1ft/lbs on each shot. Considering how little set up time is required compared to the larger chronographs (which require calibrating etc), the Acetech series of air rifle chronographs really holds it's own. The AC6000 is easy to use, and certainly accurate enough for any airgun use, and will perform just as good as a chronograph costing several times the price.
The AC6000 Chronograph offers excellent value for money. It's not a full-bore rifle chronographs certainly, but I nonetheless challenge the reader to find a better air rifle/airsoft chronograph for the price.
Technical specifications and features
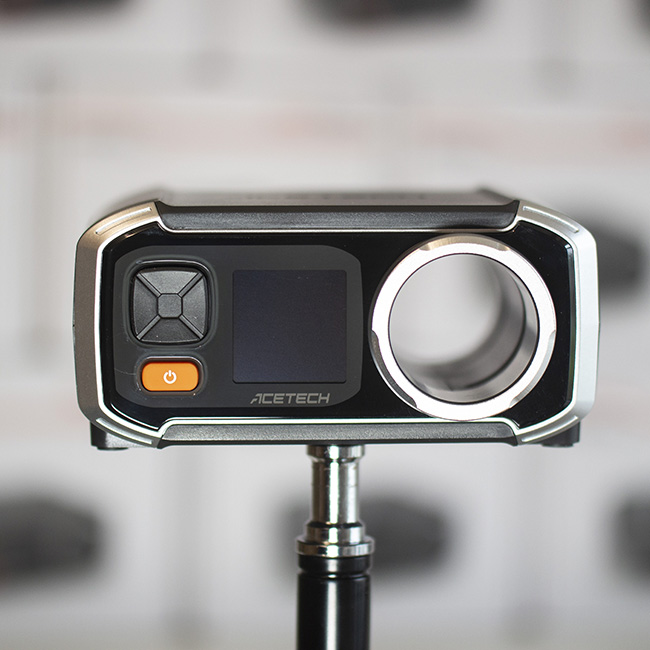
The AC6000MKIII series is an advanced version of the AC6000 series, and this chronograph can be powered by either a USB-C cable or 4x AA alkaline batteries, offering flexible power options to meet the preferences of various users.
The device is designed with upper limit warnings for initial velocity and Joule energy, allowing users to easily know when the limits have been reached through red warning signals.
Featuring a compact and lightweight design, the AC6000MKIII series is equipped with advanced sensors that provide highly accurate readings. Its user-friendly interface includes a backlit LCD color display, which allows for clearer display of functions and data.
CHRONOGRAPH FEATURES:
| Velocity Range | 30 m/s - 400 m/s |
| ROF Range | 100-5000RPM |
| Measuring Tube Diameter | 36mm |
| Charger Port | USB-C |
| Battery | 4x AA Alkaline Batteries |
| Weight | 285g |
| Dimension | (L)130 x (W)108 x (H)61mm |
| User Manual | English |
| Connectivity | Bluetooth |
| Tripod Screw Length | 1/4-20 UNC |


For quick set-up to test an air rifle or air pistol for power:
- To use the device, firstly either insert the required batteries in the compartment on the underside of the chronograph or plug a 5V/0.5a USB-C cable in the back.
- Switch the device on by the on button located underneath the operational buttons. The first screen will be displayed, with all readings at zero.
- To change pellet weight, press the right direction button until you reach the menu screen at screen 3, and select UNIT
- On the unit screen, navigate up the options and press right or left on each to choose the unit of measurement of the speed readout, pellet weight and energy. Once this is set (default is grams and joules), navigate back to the menu screen and select AMMO.
- On the ammo screen, there is 5 spaces for pellet memory, simply navigate to the first option, and enter the pellet weight by selecting either the hundreds, tens, units (or non-integers), and changing the value with the up and down arrows. Pellet diameter is set likewise under its respective column.
- Next, you can either change the display options if you wish (I didn't bother, the OLED screen on default seemed fine), or navigate to the first menu, and simply shoot.
- Once you have fired through the aperture, the results will be displayed on the screen. There is no need to touch the device at all between shots, the chronograph will simply display the new reading on screen.
- To see previous shots, navigate to the second screen.
- Once you've finished shooting, the device can simply be powered off, or the user can select their own automatic power off.
Purchase the Acetech AC6000 Chronograph here

Related Products


